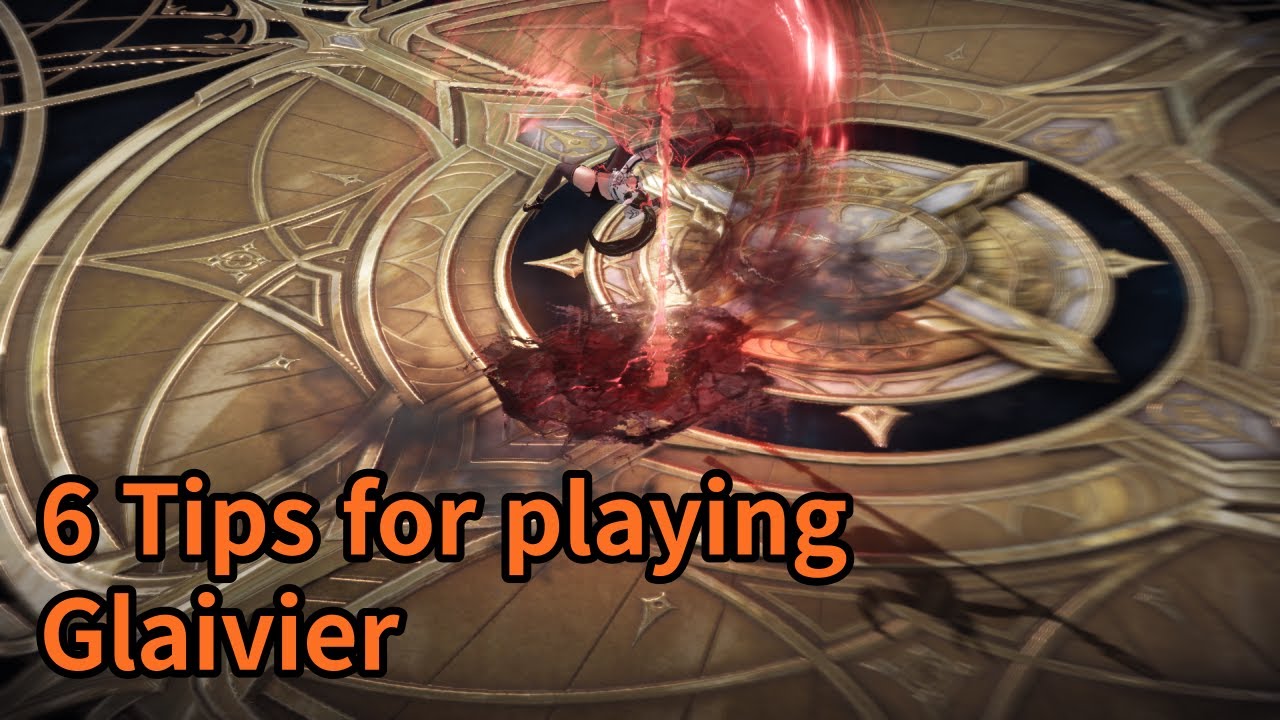
Providing a general overview of the Glaviera group of people in a specific situation is the purpose of this report.


Comparing Glaivier to the other Martial Artists, on the other hand, Lost Ark Gold is clear that he is the most well-rounded of the group. In spite of the fact that she considers herself to be a true jack of all trades, she is a master of none when it comes to her specific area of expertise. She also has a significantly greater range of motion than any other Martial Artist, which, according to her, allows her to be the most versatile of all of them in terms of fighting style.
It is characterized by the use of powerful attacks against their adversaries in order to inflict the most devastating damage possible on them. It is necessary to expend a portion of your identity gauge in order to gain the benefit of a buff that grows in strength in direct proportion to the amount of identity gauge you currently possess when you switch stances in order to gain the benefit of the buff.
It is still possible to use either of Lost Ark Glaivier’s Class Engravings as a class engraving and both should be considered for use in your class engraving. She gains a strong boost from her Zenith Class Engraving when she switches between blue and red stances, whereas her Moderation Class Engraving disables the red stance and provides her blue skills with a damage bonus when she switches between blue and red stances.
Glovier is a great choice for players who want to stand out from the crowd and express themselves in a unique way. She can be played in a variety of ways, making her a great choice for players who want to stand out from the crowd and express themselves creatively.
When you reach the pinnacle of success (in this case, Swap Engraving), you have reached the pinnacle of achievement.
You are not required to make any financial commitments on your part if you do not have the critical stat or the critical engravings in place.
Effects on performance: If you are forced to swap identities before you have finished filling the identity gauge, your performance will suffer as a result of the interruption.
With regards to building options, the Sun stance (red) and the Moon stance (blue) are two viable options that both rely on the player’s identity to swap between two different positions, the Sun stance (red) and the Moon stance (blue). There are two viable builds for them, one of which is based on using their identity to swap between two stances, the Sun stance (red) and the Moon stance (blue), which they can switch between using their identity. The other build is based on using their identity to swap between two stances, the Sun stance (red) and the Moon stance (blue), which they can switch between using their identity. They can switch between two stances by using their identity, which is the Sun stance (red) and the Moon stance (blue), which they can switch between by using their identity. The majority of the damage dealt by Sun skills comes from the Sun, whereas the majority of the utility provided by Moon skills comes from the Moon.
Each of their identity gauges is comprised of three bars that fill up as the passage of time in their lives progresses through each of them. Glaciers gain buffs and deplete the identity gauges that protect them with each change in their stance. -During a character swap while your character has a full identity gauge on him or her, the buff is at its most potent. In addition to increasing the overall power of the buff, zenith class engraving increases its durability.
50 percent increase in color of the buff from blue to movement speed is increased by 20% when 15% of the population participates.50% of the monetary loss critical hits are responsible for 15% of all damage inflicted.15% of the time, the movement speed is accelerated a little. It is normal to notice an increase in movement speed when dealing with critical damage.
Attack Speed has been increased by 15%, resulting in a 15% increase in the amount of damage that can be dealt.
In the field of statistics, the study of quickness is considered to be a specialized field of investigation.
Swiftness serves as a supporting stat for them, as they place a strong emphasis on specializing in their respective fields. Besides that, specialization increases the effectiveness of your buff while switching stances, as well as your meter generation*. It also increases the effectiveness of your Awakening when used while specialization-ed.
Both Glaivier builds are required to have a level 3 of their respective class engraving in order for them to be able to perform their functions properly.
The following will be the endgame zenith priority for engravings during the final phase of the campaign: The pinnacle of one’s accomplishments3 Accusations of malicious intentCaptain of the Raid 3, Keen Blunt 3, Cursed Doll 3, Raid Captain 3, Increase Mass 3, Raid Captain 3.
In order to assist you in getting started with Glaivier, we recommend the following resources:
In light of the fact that you must incur a significant financial penalty in order to obtain your end-game engravings, they are only worthwhile to obtain once you have progressed to the third level of the game.
Tripods and Zenith Techniques are two types of photography equipment to consider when taking pictures.
The Horn of the Red Dragon wins 3-3-1, putting them three points ahead of their opponents.
It is also known as the Starfall Pounce 1-3-1. The Starfall Pounce 1-3-1 (or Starfall Pounce 1-3-2) is a 1-3-1 Starfall pounce that can be used in a number of different situations.
When used, this skill has a 100% chance of causing a critical hit, making it the most important damage skill in the game. As a result, you will be able to arrive at your destination much more quickly.
The Blue Dragon is back with a vengeance. Three-one-one Shackles are a type of shackle. The number three is represented by the abbreviation three-one-one.
It is impossible to overstate the significance of the Synergy of Glaivier’s Party. When used in conjunction with the appropriate tripods, this skill provides your party with an 18% critical strike bonus for a brief period of time once it has been activated.
Glaivier is ready to respond to your point of view if you so desire. In order to increase the dash distance, we only put in a few points into Vault, which will make it easier to land on the ground.
Aside from being one of the most important abilities we have, the ability to cause blue damage is another. Utilizing this skill in conjunction with the stance swap buff and a tripod greatly increases the chance of landing critical hits.
Half Moon Slash is a 1-3-1 in this situation. Half Moon Slash is represented by the numbers 1-3-1 (Half Moon Slash).
In slang, a Wheel of Blades is a term that refers to a group of blades on a wheel that is commonly used in reference to a group of blades on a wheel.
The score is 1-0-0 in favor of the visitors after a flash kick is taken.
In order to allow the user to move around more freely on his or her own, the device has been designed to do so.
Related Read: Lost Ark Tier 1 to Tier 3 Gear Progression Ultimate Guide: Tier Progression, Item Level Upgrade, Tips for Endgame


